Master Physically Based Rendering
Master the PBR Materials
Introduction
After following the PBR Introduction, it is a good time to learn more about the PBRMaterial.
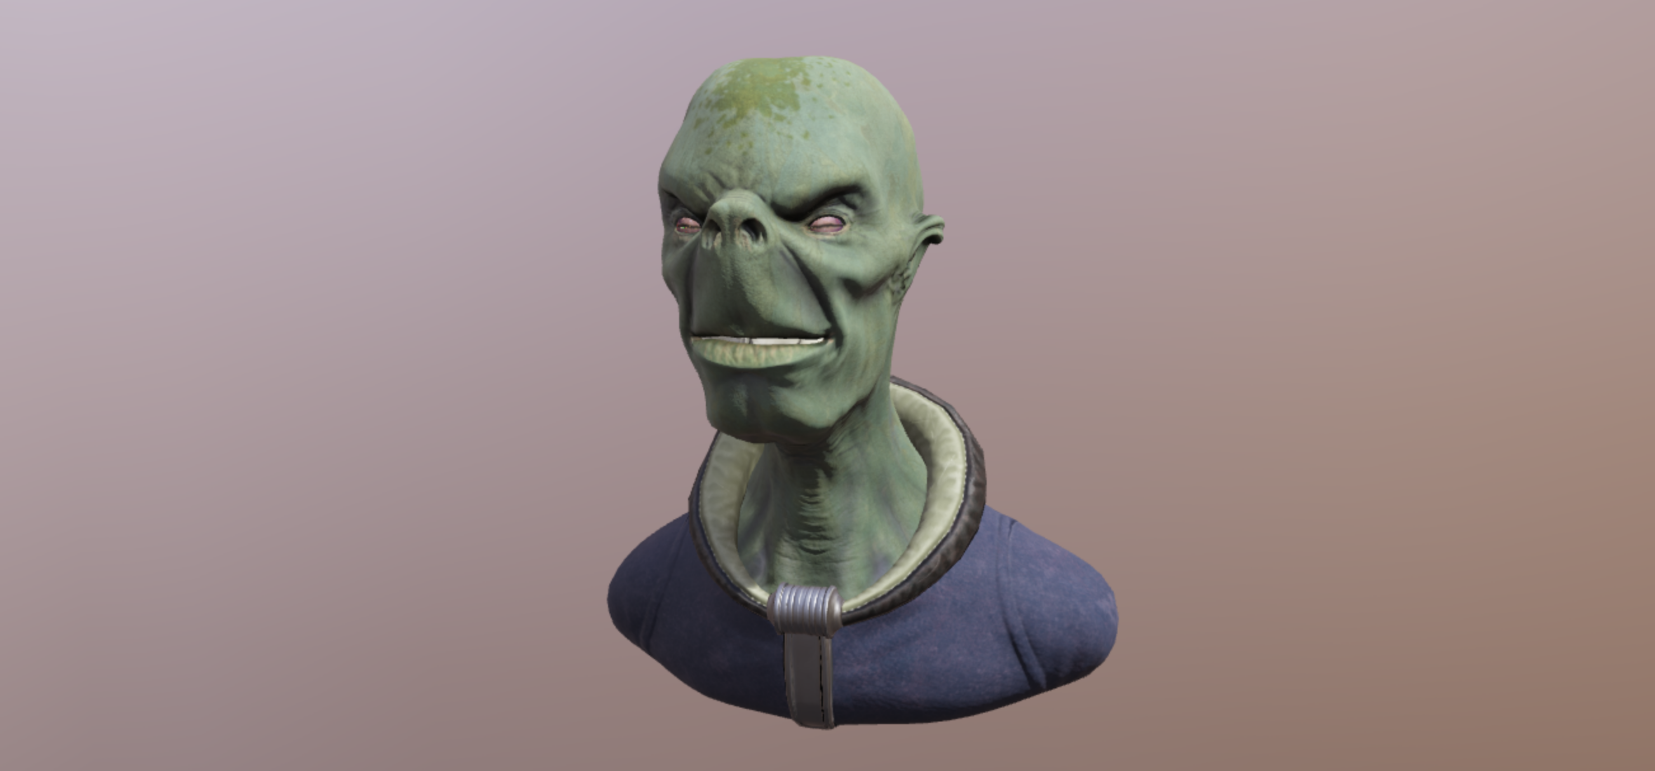
This will be the only picture of the documentation. As a real sample would be better than a picture, please, do not hesitate to click on the eye aside of each playground links to see the live examples embedded in the page.
The entire documentation should help you deal with most of the PBR Material setup.
How to install
As the PBR material is embedded in the BabylonJS library, please, follow the basic tutorial in order to create your first page using the framework.
Why
After looking at the PBR Introduction you may want to gain more control or use more features in your material setup like:
- Refraction
- Standard Light Falloff
- LightMaps
- Dedicated image processing
As the two main PBR Materials e.g. SpecularGlossiness and MetallicRoughness, are intented to be simple, their number of properties is pretty small to stay user friendly. From time to time, you might still be missing a feature or willing to go a bit deeper.
The PBRMaterial is here to address this concern and can work in either a Specular/Glossiness or Metallic/Roughness workflow. This document will only address the differences between the PBRMaterial and its the simpler versions.
From MetallicRoughness To PBRMaterial
To start with the MetallicRoughness, you can take a look at the documentation.
In order to setup the PBRMaterial in Metallic/Roughness mode, at least one of the following properties has to be set (else it by default works in Specular/Glossiness):
- metallic
- roughness
- metallicTexture
To switch from the PBRMetallicRoughnessMaterial to the bigger PBRMaterial, a few of the properties need to be renamed (Rename has not been done in the richer material in order to keep backward compatibility with prior versions):
- baseColor -> albedoColor
- baseTexture -> albedoTexture
- metallicRoughnessTexture -> metallicTexture
- environmentTexture -> reflectionTexture
- normalTexture -> bumpTexture
- occlusionTexture -> ambientTexture
- occlusionTextureStrength -> ambientTextureStrength
As the channels used for metallic or roughness can be customized, in order to be setup as the simple material, you will need to add the following flags:
    pbr.useRoughnessFromMetallicTextureAlpha = false;
    pbr.useRoughnessFromMetallicTextureGreen = true;
    pbr.useMetallnessFromMetallicTextureBlue = true;
You can see a live version here -
Once the conversion done, let's see the custom options available on this version:
- useRoughnessFromMetallicTextureAlpha: the metallic texture contains the roughness information in its alpha channel.
- useRoughnessFromMetallicTextureGreen: the metallic texture contains the roughness information in its green channel (useRoughnessFromMetallicTextureAlpha needs to be false).
- useMetallnessFromMetallicTextureBlue: the metallic texture contains the metallic information in its blue channel (it is considered in the red channel by default).
- useAmbientOcclusionFromMetallicTextureRed: the metallic texture contains the ambient occlusion information in its red channel.
- useAmbientInGrayScale: the ambient occlusion is forced to read only from the red channel of the ambient texture or from the red channel of the metallic texture.
From SpecularGlossiness To PBRMaterial
To begin with the SpecularGlossiness you can start with this documentation.
The exact opposite of the previous chapter has to be followed in order to setup the PBRMaterial in Specular/Glossiness mode. The following properties need to be null or undefined:
- metallic
- roughness
- metallicTexture
To switch from the PBRSpecularGlossinessMaterial to the richer PBRMaterial, a few of the properties need to also be renamed:
- diffuseColor -> albedoColor
- diffuseTexture -> albedoTexture
- specularGlossinessTexture -> reflectivityTexture
- specularColor -> reflectivityColor
- glossiness -> microSurface
- normalTexture -> bumpTexture
- occlusionTexture -> ambientTexture
- occlusionTextureStrength -> ambientTextureStrength
Also as the channel used for glossiness can be customized, in order to be setup as the simple material, you will need to add the following flag:
pbr.useMicroSurfaceFromReflectivityMapAlpha = false;
You can see a live version here -
Once the conversion done, let's see the custom options available on this version:
- microSurfaceTexture: Enables the ability to store the glossiness on the red channel of a separate texture.
- useAlphaFromAlbedoTexture: the opacity information is contained in the alpha channel of the albedo texture.
- useMicroSurfaceFromReflectivityMapAlpha: the reflectivity texture contains the microSurface or glossiness information in its alpha channel.
- useAmbientInGrayScale: the ambient occlusion is forced to read only from the red red channel of the ambient texture or from the red channel of the metallic texture.
Opacity
Another interesting addition to the reflection is the ability to keep the most luminous part of the reflection over transparent surface... Yeah, it does not make much sense... Actually if you look through a window at night from a lit room, you can see the reflection of lights or TV on the glass. This is the same for reflection in the PBR Material. A special property pbr.useRadianceOverAlpha = true; has been added to allow you to control this effect. Not only reflection (AKA radiance) but specular highlights can be seen on top of transparency.
Demo -
glass.reflectionTexture = hdrTexture;
glass.alpha = 0.5;
This behaviour can be turned off through the properties:
    useRadianceOverAlpha = false;
    useSpecularOverAlpha = false;
Refraction
Refraction is a little bit like reflection (Please purists, do not kill me now, I only said a little) because it is heavily relying on the environment to change the way the material looks. Basically, if reflection could be compared to seing the sun and cloud on the surface of a lake, refraction would be seing weird shaped fish under the surface (through the water).
A great tutorial on the refraction is available Here
As refraction is equivalent to how you can see through different materials boundaries, the effect can be controlled via the transparency in BJS. A special property helps you to do it, simply put pbr.linkRefractionWithTransparency=true; in your code and then the alpha will control how refractive the material is. Putting it to false leaves the alpha controlling the default transparency.
Demo -
var glass = new BABYLON.PBRMaterial("glass", scene);
glass.reflectionTexture = hdrTexture;
glass.refractionTexture = hdrTexture;
glass.linkRefractionWithTransparency = true;
glass.indexOfRefraction = 0.52;
glass.alpha = 0; // Fully refractive material
You can still notice some reflection on your material. This is due to the energy conservation detailed later in the document.
Normal Map / Parallax
Normal mapping and Parallax are supported in the exact same way than the standard material. Please, refer to the following links for more information:
LightMaps
LightMaps are available in the same way they are in the standardMaterial by affecting a texture to the lightmapTexture property. This can also be used as a shadowMap instead by switching the dedicated control flag useLightmapAsShadowmap to true.
Image Processing
The Processing Configuration can be applied directly on the material as explained in the image processing documentation.
Light Setup
Always considering what "Nature does", we reconsidered the BJS light falloff effect in the PBR Material.
Three main properties have been added to offer a better simulation of the lights.
Inverse Square Falloff
This is a type of falloff that is pretty close from what light does in real life (It is implemented in the best engines like BJS and Unreal, I may oversell it here :-) )
Compared to the BJS lighting model, instead of playing with an arbitrary range for the lights, the light impact will decrease proportionnaly to the inverse of the light distance squared.
float lightDistanceFalloff = 1.0 / ((lightDistanceSquared + 0.0001));
return lightDistanceFalloff;
So the further you are, the bigger your intensity will need to be to reach a surface.
To even go further, the intensity you define on the lights follows physics notions:
- Point and Spot lights are defined in luminous intensity (candela, m/sr)
- Directionnal and Hemispheric lights in illuminance (nit, cd/m2)
To make it compatible with the standard material, you can easily disable this behaviour and use the Physical Falloff like this:
pbr.usePhysicalLightFalloff = false;
IntensityMode
The lights now have an intensity which enable you to convert the intensity metric from one type to another one. This can help setting up your analytical lights close from real life measure:
// Default automatic mode best fitting with the light type.
light.intensityMode = BABYLON.Light.INTENSITYMODE_AUTOMATIC;
// Lumen (lm)
light.intensityMode = BABYLON.Light.INTENSITYMODE_LUMINOUSPOWER;
// Candela (lm/sr)
light.intensityMode = BABYLON.Light.INTENSITYMODE_LUMINOUSINTENSITY;
// Lux (lm/m^2)
light.intensityMode = BABYLON.Light.INTENSITYMODE_ILLUMINANCE;
// Nit (cd/m^2)
light.intensityMode = BABYLON.Light.INTENSITYMODE_LUMINANCE;
Light Radius
Light Radius has been added as a property of each light and controls the fact that in real life most of the lights are not a single point.
Why? Simply because if your material is really glossy, each specular highlights (from the direct lights) will only be seen as a simple dot.
Try to spot the dot in the middle of the sphere in the Demo -
.
Now, increasing the light radius makes this dot wider as you can see on this Demo -
This uses internally a lot of approximation like Tan(theta) is almost theta for small angles so if you try to put bigger radius than a tenth of the light distance you will not see the desired effect.
Shadows (as the standard material)
Shadows are fully equivalent to the Standard material. All the documentation can be found here: Shadows;