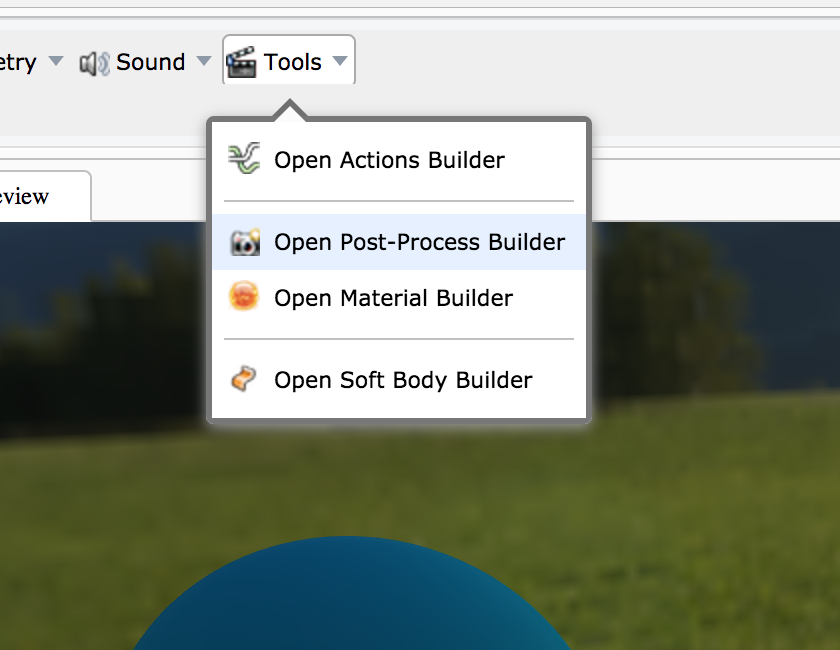
Using the Post-Process Builder (for developers)
Using the Post-Processes Builder
Creating post-processes
Tool provided for developers, you are able to develop custom post-processes, chained, using a JSON configuration.
Features available:
- Develop GLSL code directly in the Editor
- Manage custom defines
- Manage custom uniforms (float, Vector2, Vector3, Vector4)
- Manage custom samplers (from textures and post-processes)
Using the editor to preview your post-processes
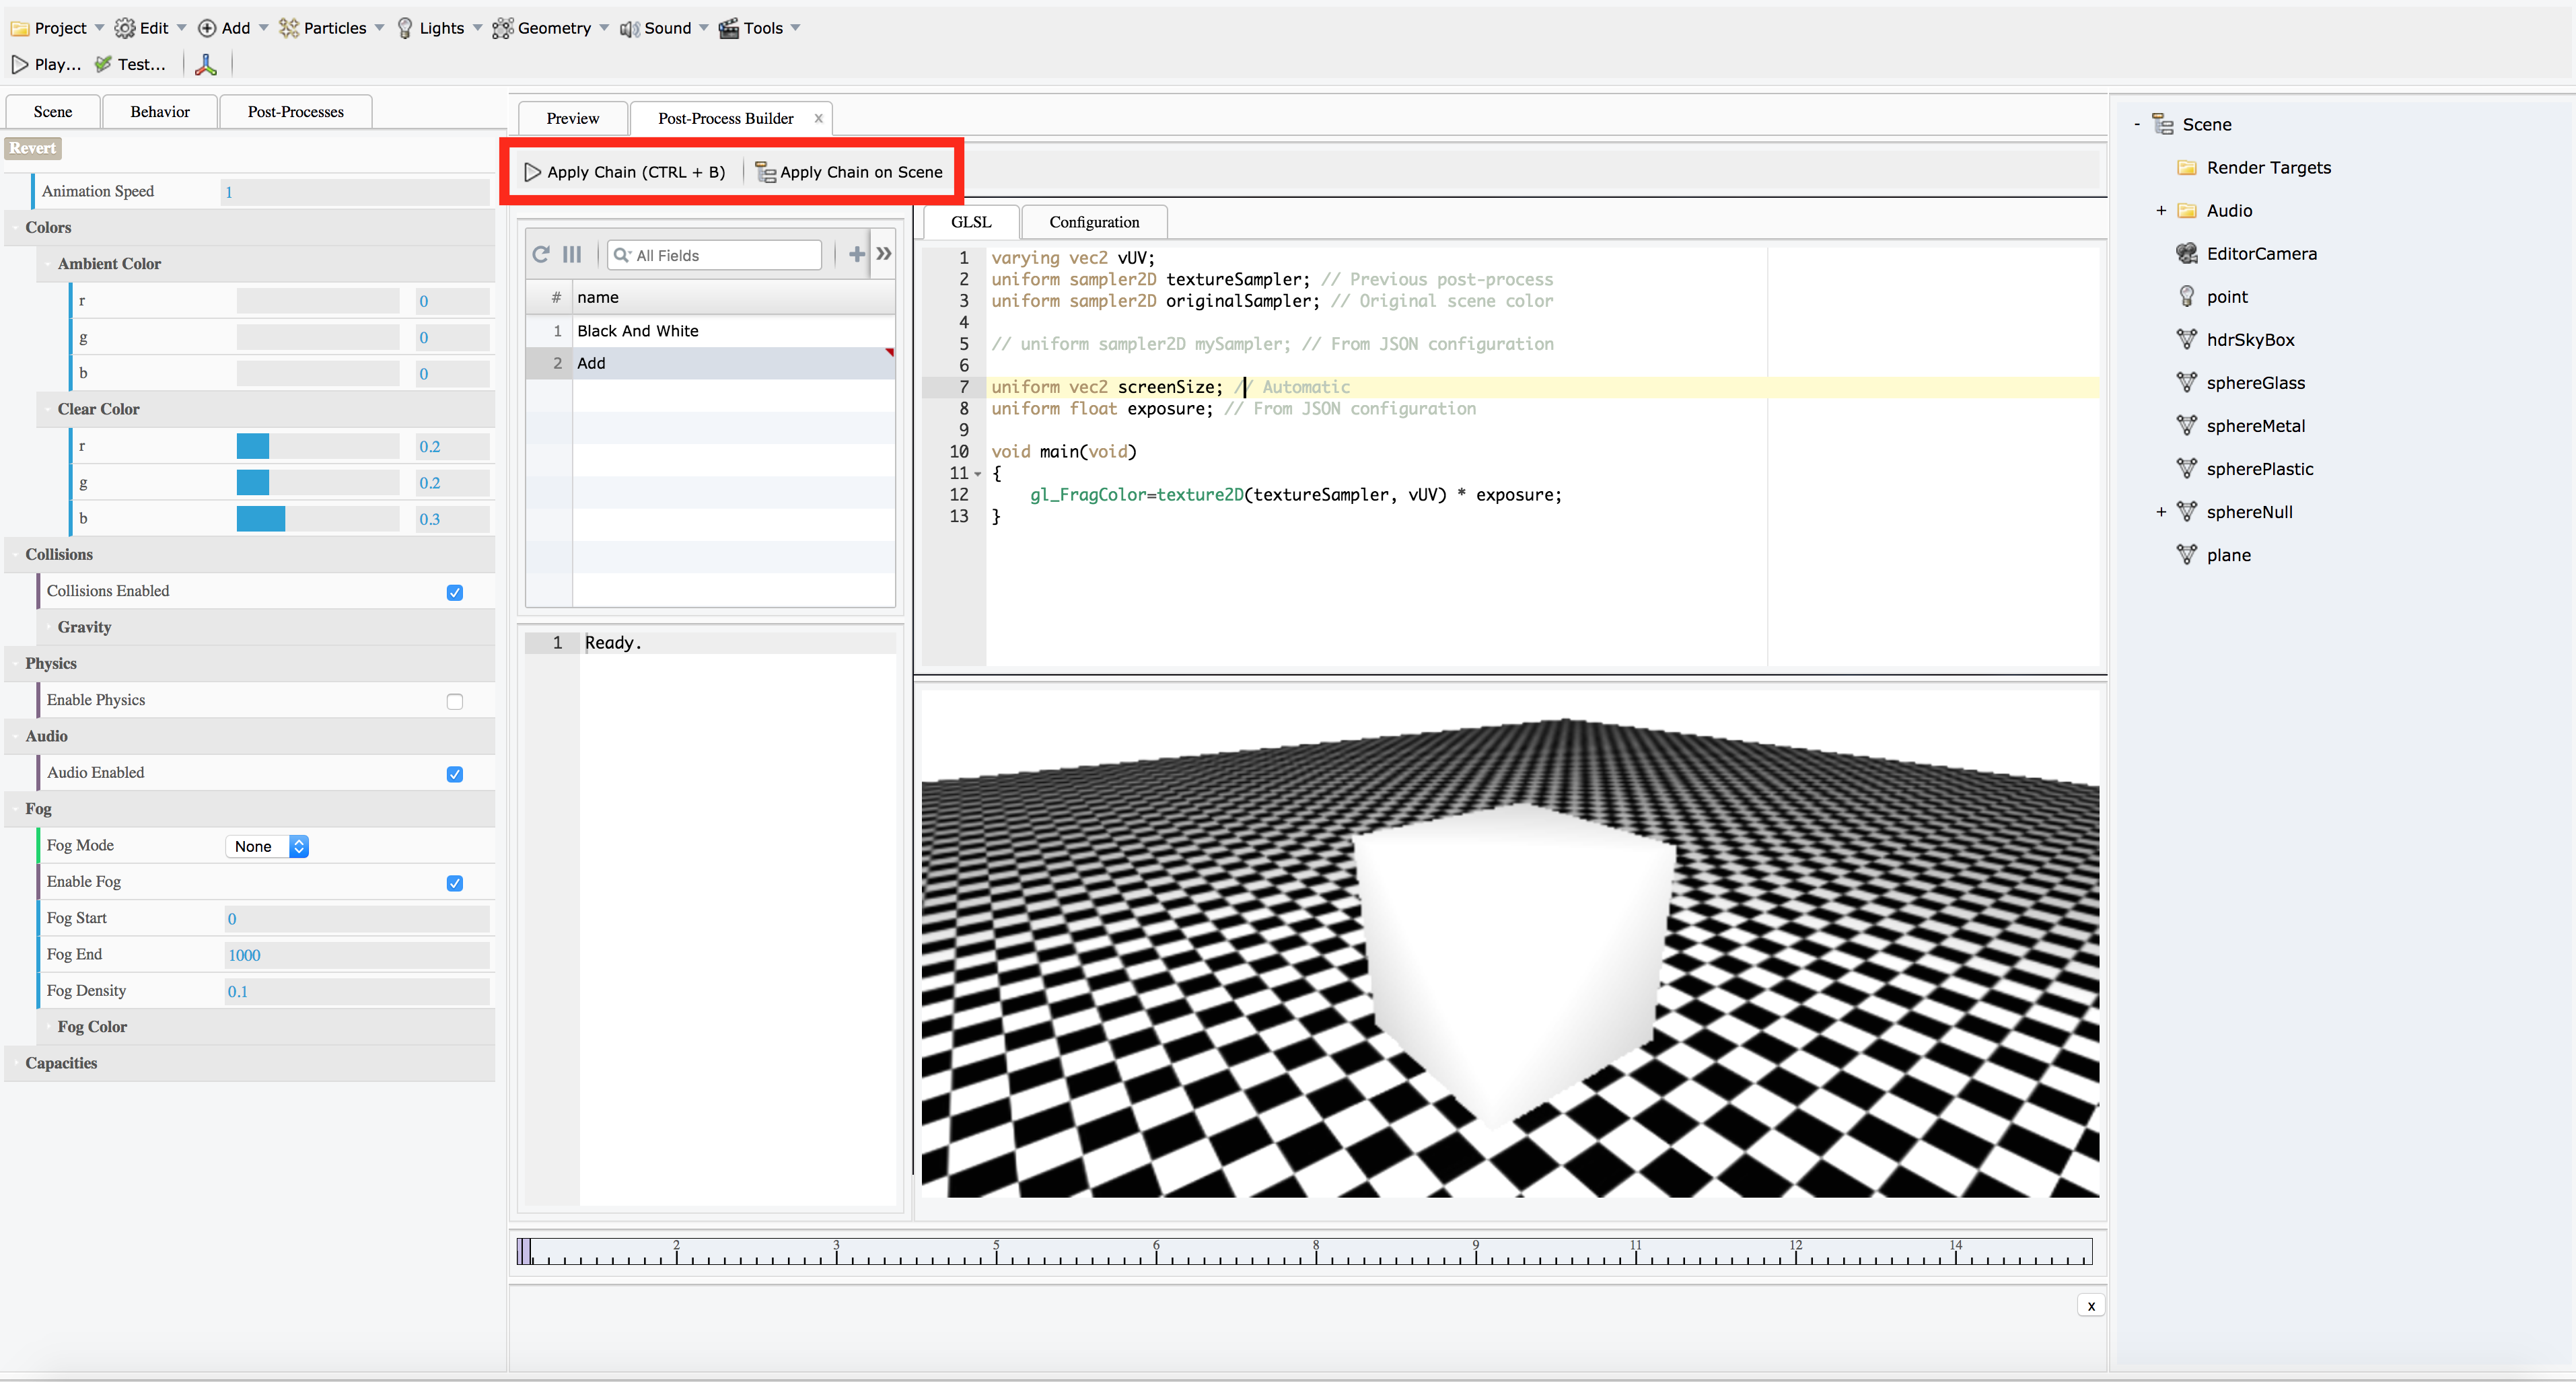
To preview the post-process you just developed, you can click the button "Apply Chain" on the toolbar, or directly push CTRL + B.
Also, if you want to apply the chain on the current scene, just click the button "Apply chain on scene"
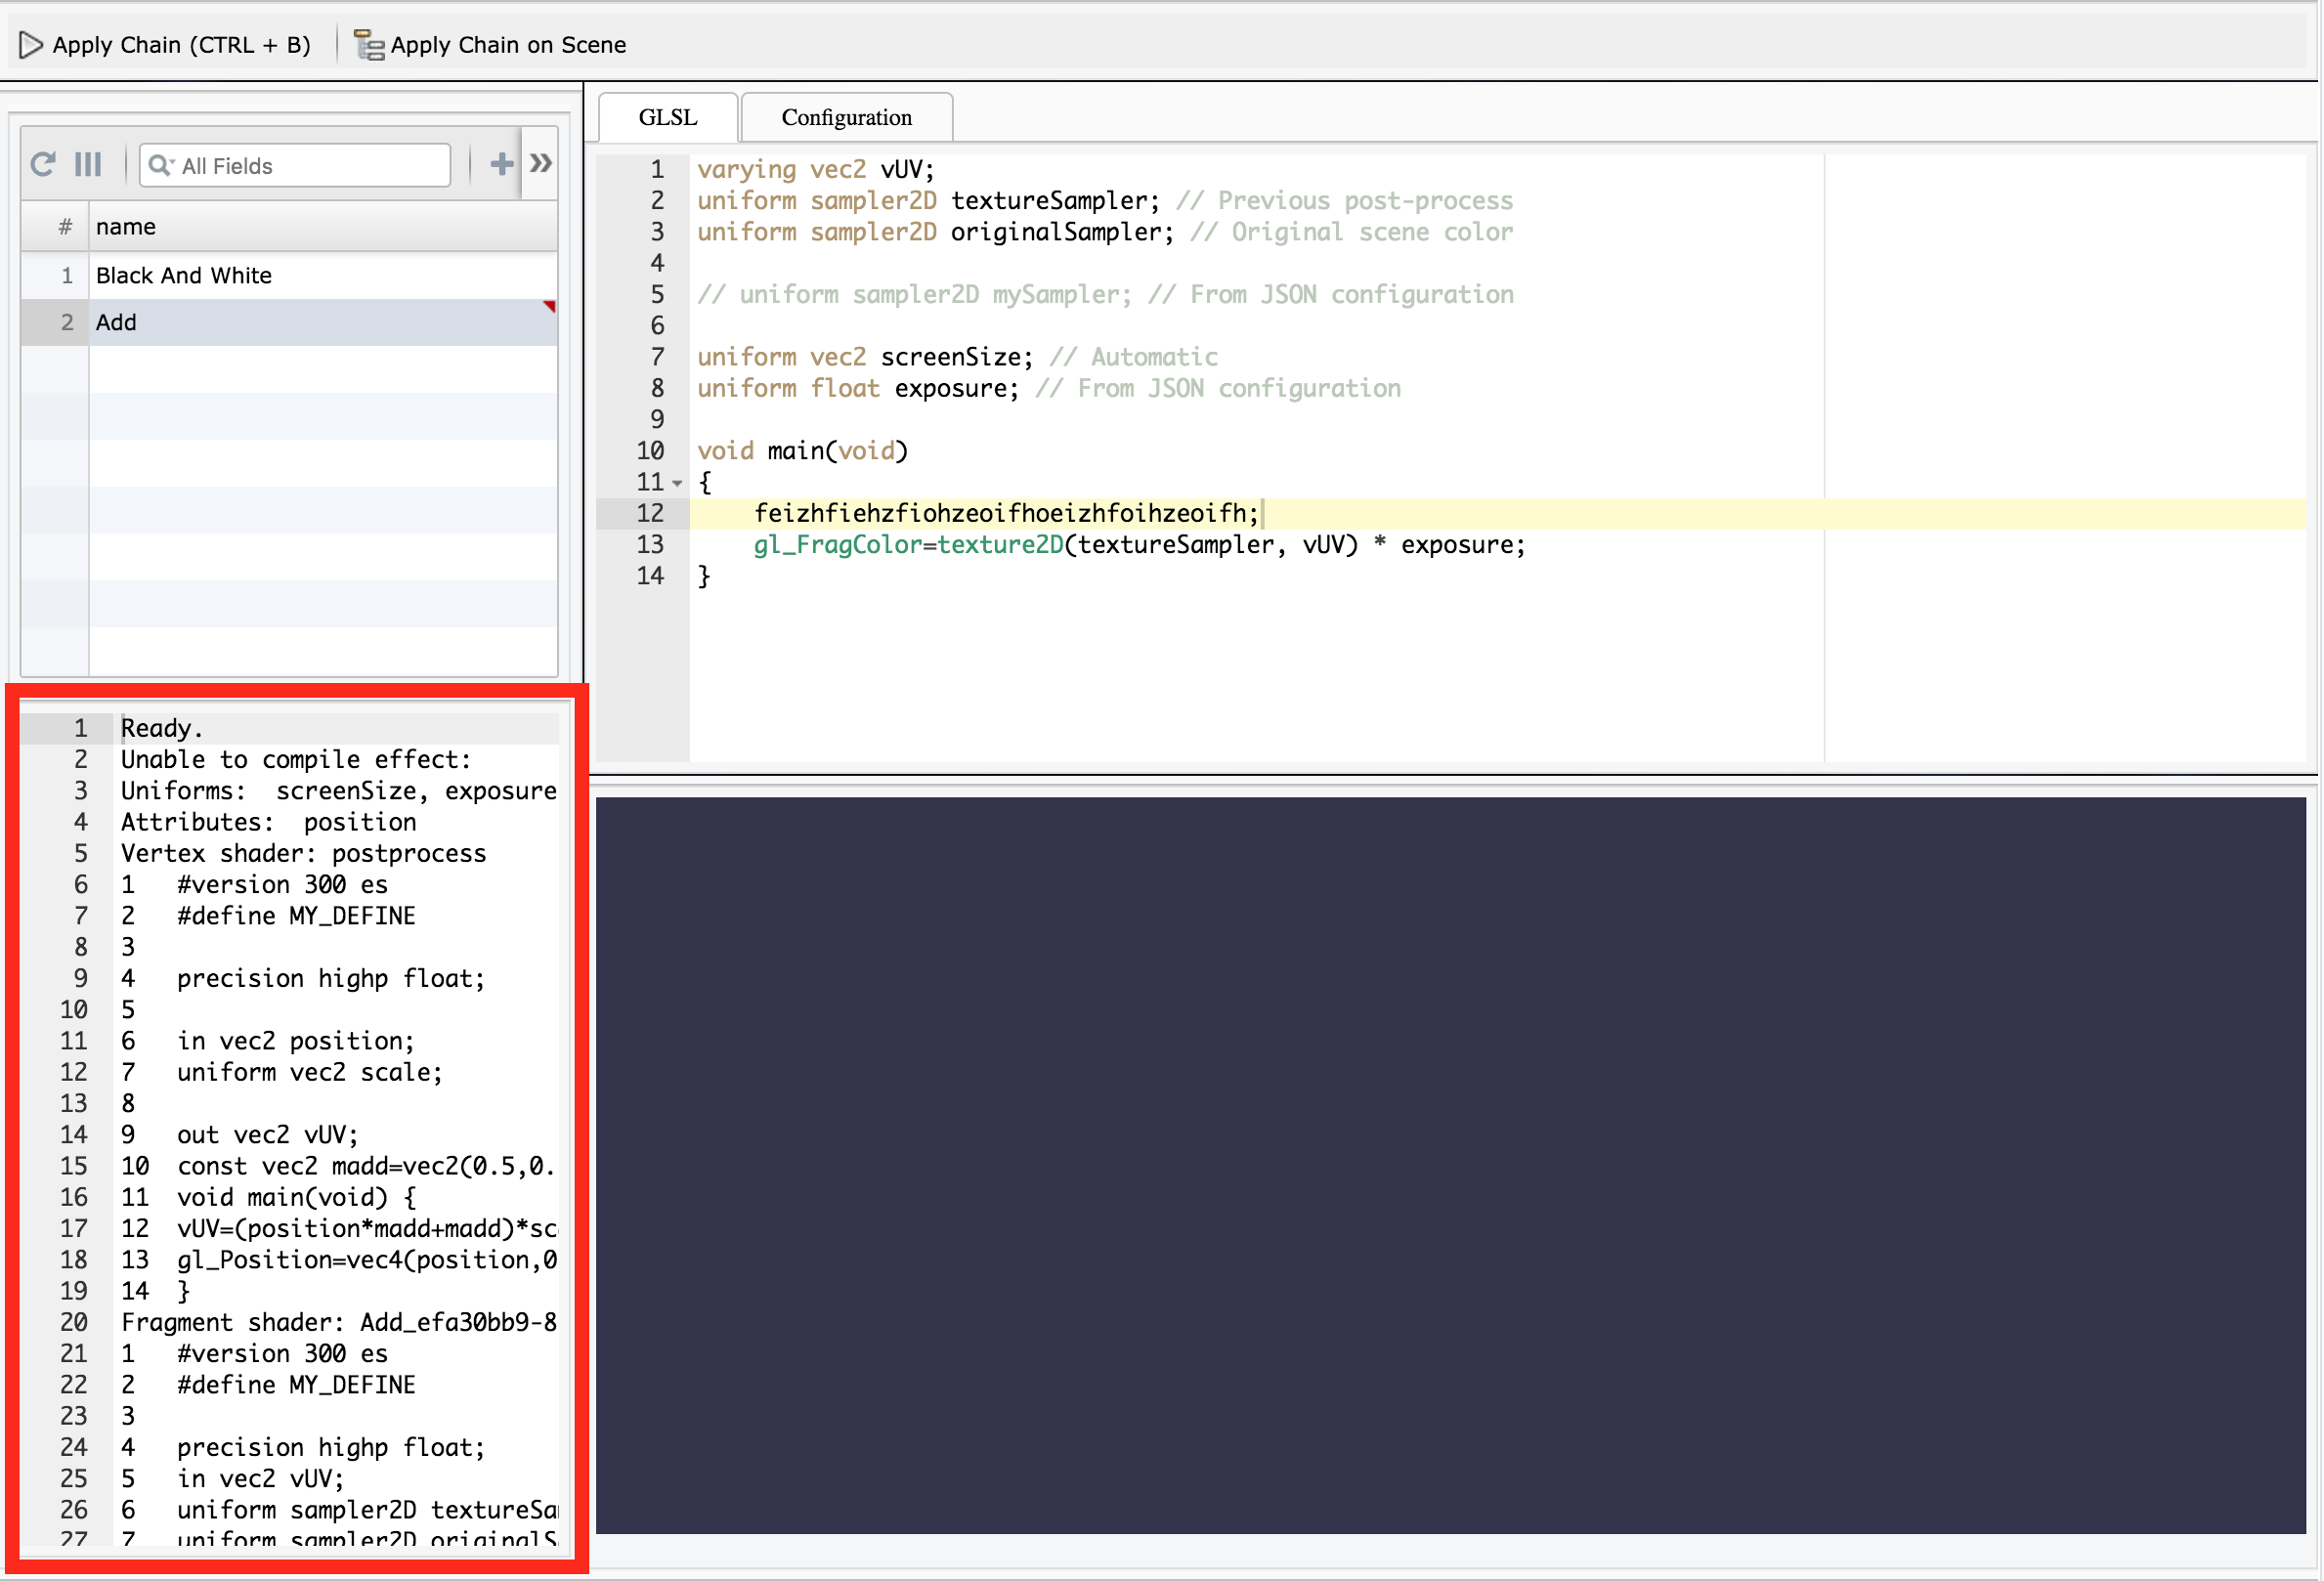
Showing the shader errors
When the shader is unable to compile, you can use the output console to see what is happening.
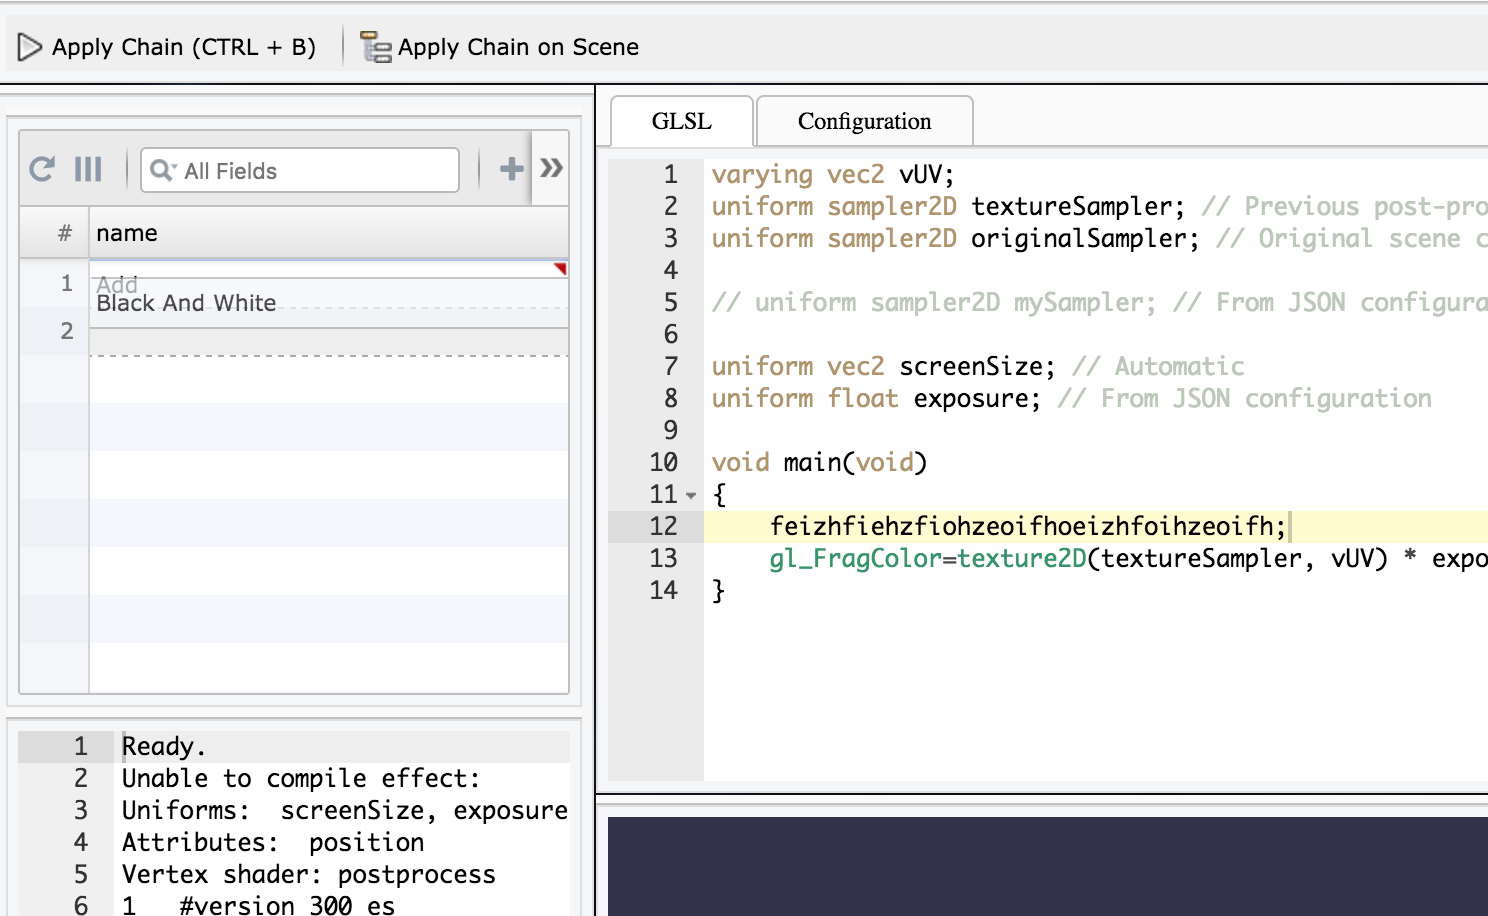
Reordering post-processes chain
You can reorder the post-processes chain using the list. Just drag'n'drop the items by clicking on the line number
The sampler "originalSampler"
This sampler is automatically created by the Post-Process Builder Extension. It just contains the original color of the scene.
Using the JSON configuration to customize uniforms and samplers
In the tab "Configuration", you can add custom uniforms and samplers. Here is the definition:
{
  "ratio": number, // The ratio of the post-process in ]0, 1]
  "defines":  string[], // Array of defines used when compiling the effect
  "samplers": { uniform: string, "source": string }[], // Array of samplers
  "uniforms": { name: string, value: number | number[] }[] // Array of uniforms
}
When opening the Post-Process Builder tool, a JSON configuration is provided as example.
Using uniform samplers
To define a new sampler just set its name in the GLSL code and its path.
Using a texture already loaded:
"samplers": [
    { uniform: "testSampler", "source": "myTexture.png" },
    ... etc.
]
Using a post-process you already created
"samplers": [
    { uniform: "testSampler", "source": "myPostProcessName" },
    ... etc.
]
Using uniform values
To define a new uniform value just set its name in the GLSL code and its value.
Available value types are:
- number
- Vector2
- Vector3
- Vector4
Already set values:
- screenSize: represents the size of the post-process in pixels
Using a number:
"uniforms": [
    { name: "exposure", "value": 1.0 },
    ... etc.
]
Using a vector (2d, 3d and 4d)
"samplers": [
    { name: "size", "value": [0, 1] },
    ... etc.
]