Getting Started
Getting started
The User Interface
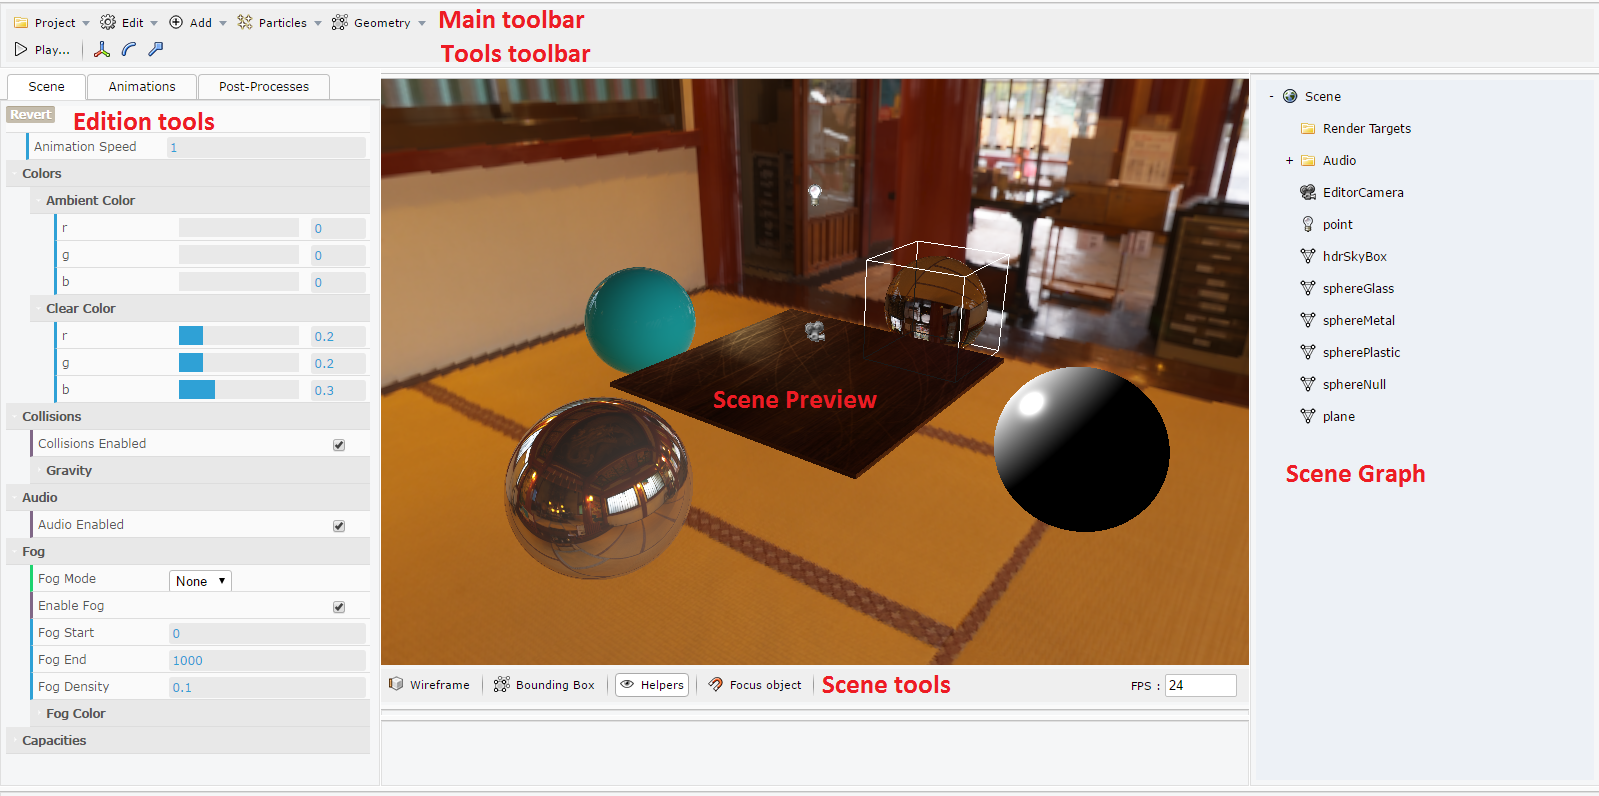
Once you started the editor, you are able to use it with an empty scene (Here we have a scene for the demo).
Workflow
The workflow with the editor is simple:
- On the right side, you’ll find the scene graph. You can quickly access to the meshes, lights, cameras, particle systems, sounds, render targets and lens flares systems.
- And, on the left side, you’ll find the edition tools that allow you to configure the objects previously selected in the scene graph. In the previous screenshot, the scene was selected and you are now able to edit the scene.
- Finally, on the top, you’ll find the main toolbars to manage your project, add objects in the scene and play your cinematic/scene.
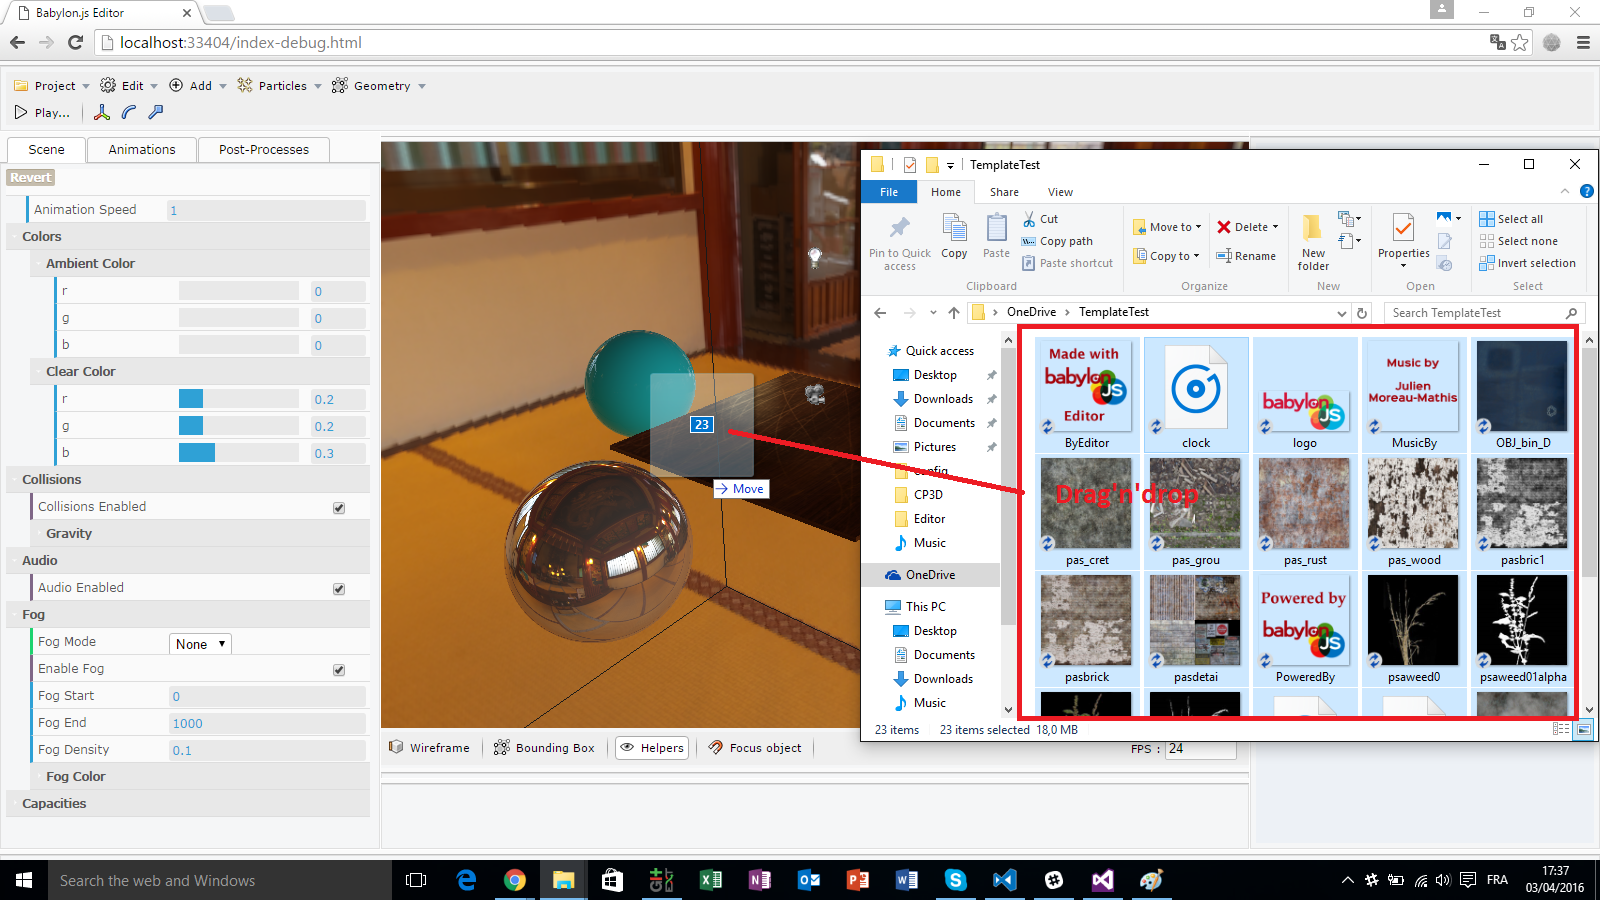
Load a Babylon.js scene
To load a Babylon.js scene (.babylon), just drag’n’drop, like the Sandbox, your scene with textures and sounds on the canvas. That’s all :)
Saving your projects
Finally, let’s save your project and keep your configuration. There are 2 ways:
- Save manually to a file
- Save projects directly into OneDrive (or DropBox in future versions)
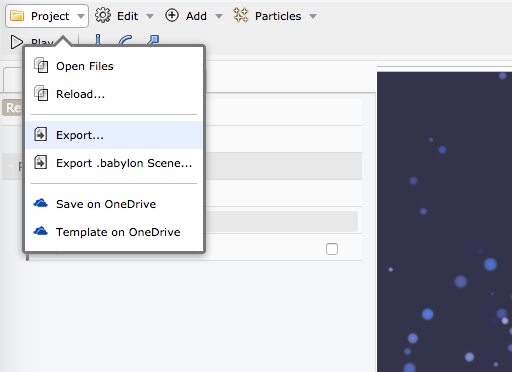
Save manually
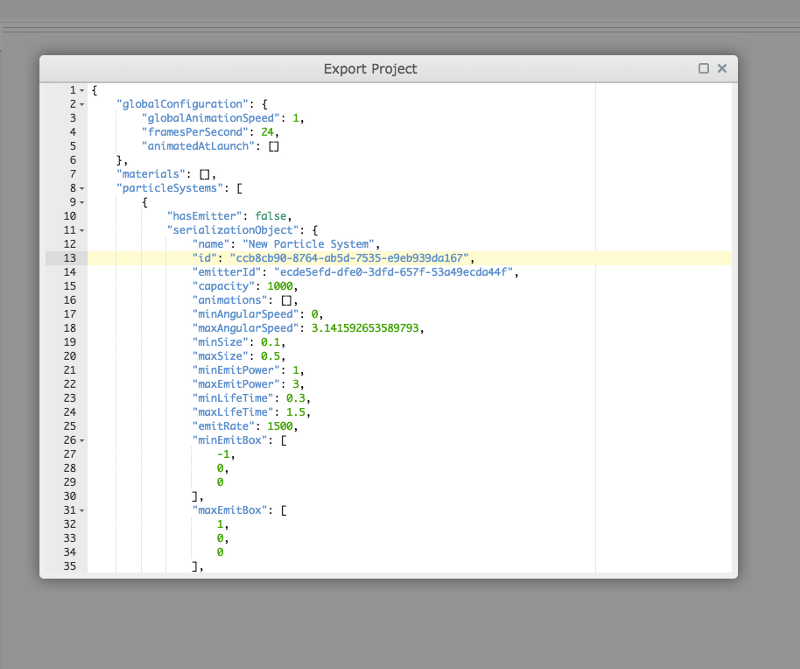
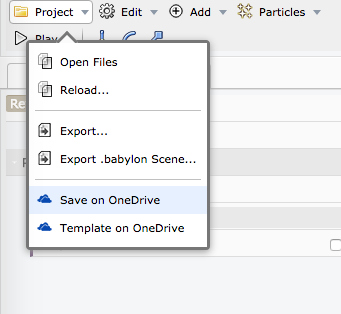
To save manually, just select the menu “Export” in the main toolbar:
A window appears with the exported project. Just copy/paste the text to a file with extension “.editorproject”.
Save directly on OneDrive
To save time and get the perfect workflow, you can use your OneDrive storage (free). Just select the menu “Save on OneDrive” in the main toolbar:
A window appears trying to connect to OneDrive. Because the editor must have an access to your OneDrive storage, you should accept the consent. Once you accepted, you can browse your OneDrive storage and select the folder where to save the file. Finally, click on “Choose” to save the file. For a perfect workflow, you should put your Babylon.js scene (with textures and sounds) in a OneDrive folder and the save the project in this folder.
Load a saved project
To load a saved project with your scene, simply drag’n’drop the project file (“.editorproject”) with the associated scene, and that’s all :)
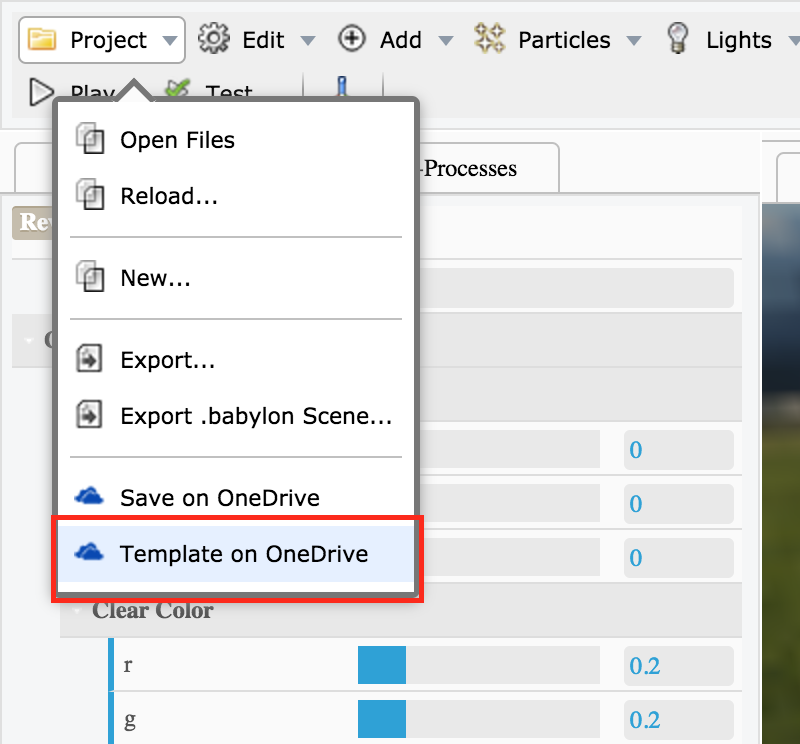
Exporting a template
When exporting a template, you are able to export the complete scene (including modifications you made in the editor) on OneDrive or local storage using Electron. Once the project has been exported, you can run the file "run.bat" or "run.sh" which will run a local web server and open the game in your favorite web browser.
Note: don't forget to install node.js
Testing your game
If you want to preview the result of your game without exporting a template, you can click the button "Test...". This button allows you to open a new window completely independent of the editor. In fact, this will simulate the template you would export using OneDrive or local storage (with Electron).
The differences with the "Play..." button:
- Apply and preview physics simulations
- Apply and preview actions which call external code
Adding you own code (for developers)
When exporting a template (on OneDrive or local storage using Electron), the template contains example codes you can plug in your project.
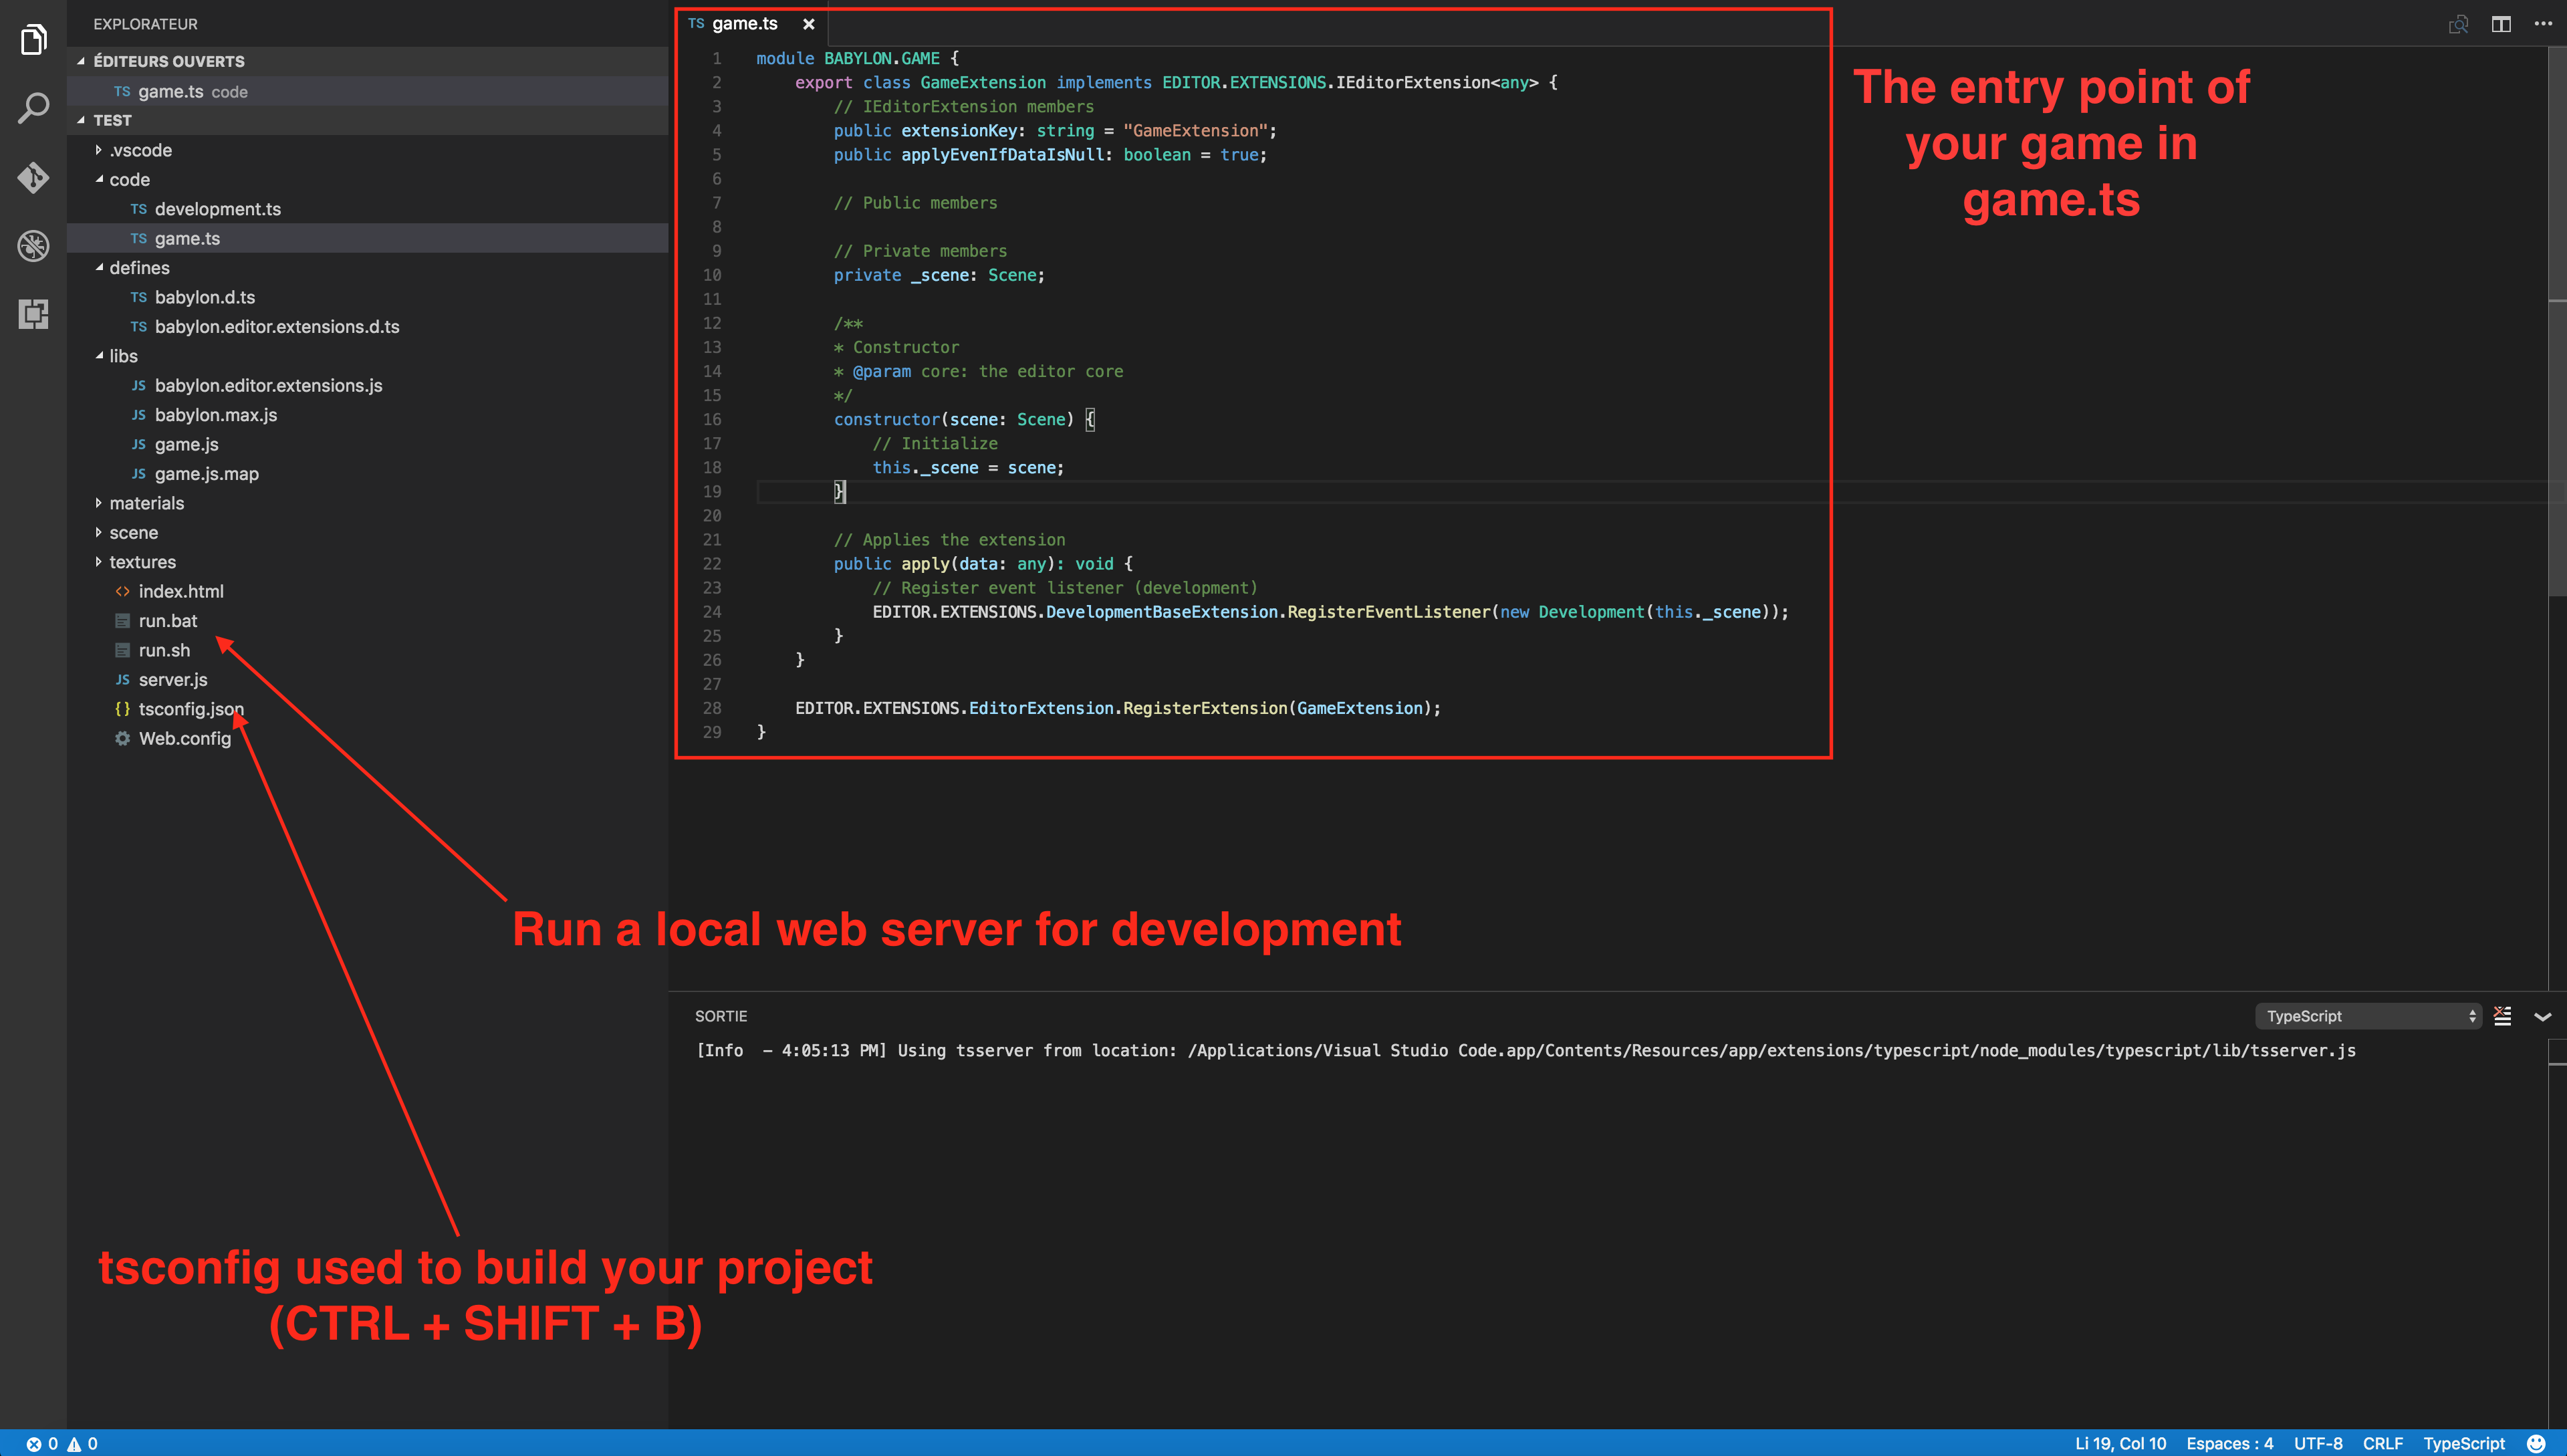
The file "game.ts" is the equivalent of you main entry point. The method "apply" is automatically called giving the reference to the scene: you can do everything you want here.
To test your game using your code, you can run the "run.bat" or "run.sh" files to launch a local webserver reachable at "http://localhost:8000".
Anyway, when you click the button "Test...", the window will try to find the file "http://localhost:8000/libs/game.js" which contains your own code.
You are now able to develop games using the editor and your own code :)